Set up a Coupa connector
📜 A newer version of this connector is available. This version of the connector is no longer available for installation. If you’re setting up a Coupa connector with ConductorOne for the first time, use the v2 version.
Capabilities
| Resource | Sync | Provision |
|---|---|---|
| Accounts | ✅ | |
| Groups | ✅ | |
| Roles | ✅ | |
| Licenses | ✅ |
Available hosting methods
Choose the hosting method that best suits your needs:
| Method | Availability | Notes |
|---|---|---|
| Cloud-hosted | ✅ | A built-in, no-code connector hosted by ConductorOne. |
| Self-hosted | A connector hosted and run in your own environment. |
Gather Coupa credentials
Configuring the connector requires you to pass in credentials generated in Coupa. Gather these credentials before you move on.
A user with Admin access in Coupa must perform this task.
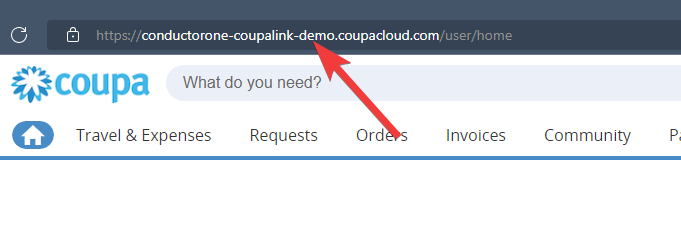
Locate your Coupa domain
Log into your Coupa control panel and copy the URL from your browser.
Create an OAuth App
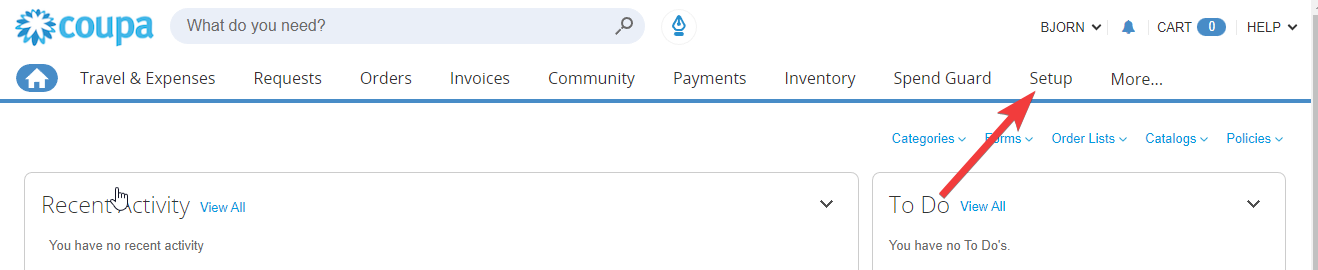
In the Coupa control panel, click Setup.
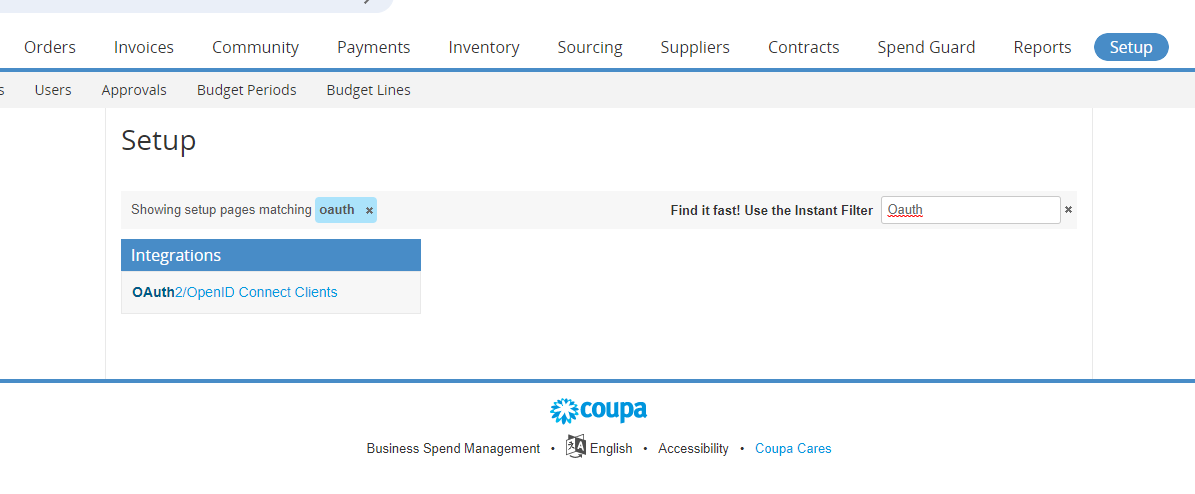
Search for “OAuth” and click OAuth2/OpenID Connect Clients.
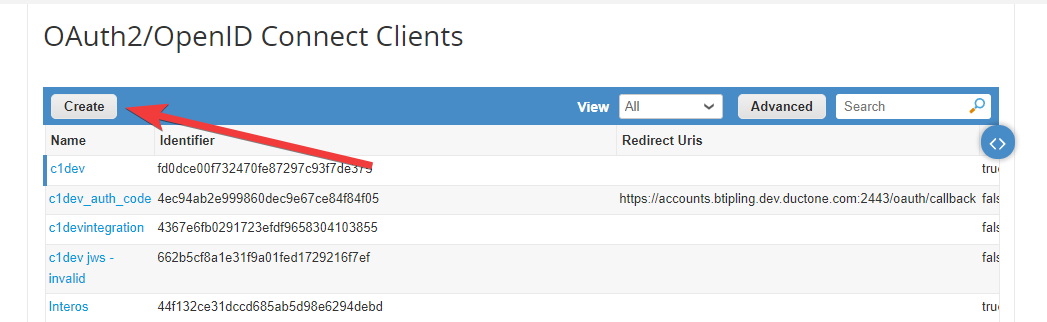
Click Create to create a new OAuth app.
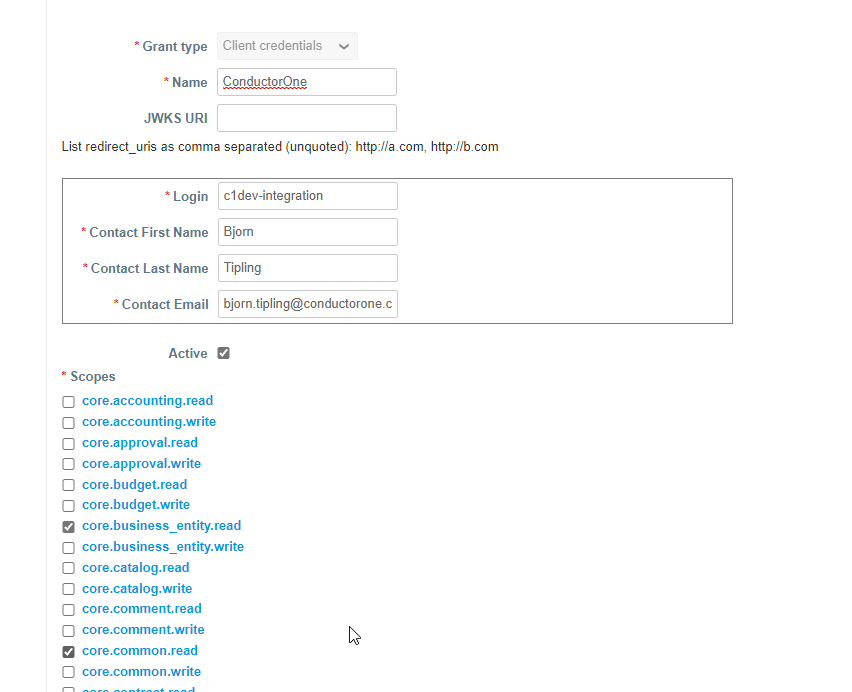
Fill out the OAuth app creation form as follows:
Select Grant type Client credentials.
Give your app a name, such as ConductorOne.
Leave JWKS URI field blank.
Enter the appropriate login and contact information for your organization.
Select scopes:
- core.business_entity.read
- core.common.read
- core.user_group.read
- core.user.read
- login
- openid
- profile
At the bottom of the page click Save.
Open the OAuth2 app you just created. It will look like this:
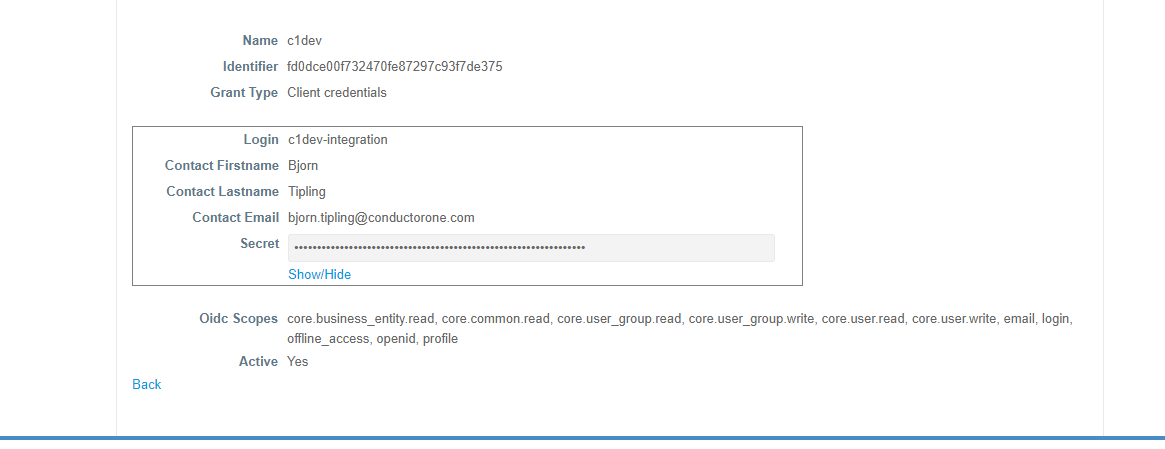
Copy and save the Identifier string. This is your client ID.
Click Show/Hide to view your client secret. Copy and save the client secret.
That’s it! Next, move on to the connector configuration instructions.
Configure the Coupa connector
To complete this task, you’ll need:
- The Connector Administrator or Super Administrator role in ConductorOne
- Access to the set of Coupa credentials generated by following the instructions above
In ConductorOne, navigate to Admin > Connectors and click Add connector.
Search for Coupa and click Add.
Choose how to set up the new Coupa connector:
Add the connector to a currently unmanaged app (select from the list of apps that were discovered in your identity, SSO, or federation provider that aren’t yet managed with ConductorOne)
Add the connector to a managed app (select from the list of existing managed apps)
Create a new managed app
Set the owner for this connector. You can manage the connector yourself, or choose someone else from the list of ConductorOne users. Setting multiple owners is allowed.
If you choose someone else, ConductorOne will notify the new connector owner by email that their help is needed to complete the setup process.
Click Next.
Find the Settings area of the page and click Edit.
Enter your Coupa domain in the Domain field.
Paste the client ID into the Client ID field.
Paste the client secret into the Client secret field.
Click Save.
The connector’s label changes to Syncing, followed by Connected. You can view the logs to ensure that information is syncing.
That’s it! Your Coupa connector is now pulling access data into ConductorOne.