Set up a Datadog connector
This is an updated and improved version of the Datadog connector! If you’re setting up Datadog with ConductorOne for the first time, you’re in the right place.
Capabilities
| Resource | Sync | Provision |
|---|---|---|
| Accounts | ✅ | |
| Roles | ✅ | ✅ |
| Teams | ✅ | ✅ |
| Schedules | ✅* | |
| Secrets - API keys | ✅ |
This connector can sync secrets and display them on the Inventory page.
*Schedules are not synced by default, but you can opt into syncing them when configuring the connector.
Gather Datadog credentials
Configuring the connector requires you to pass in credentials generated in Datadog. Gather these credentials before you move on.
A user with the Connector Administrator or Super Administrator role in ConductorOne and the Datadog Admin or Datadog standard role in Datadog must perform this task.
If your user has a custom Datadog role, make sure it includes the User App Keys and API Keys Read permissions.
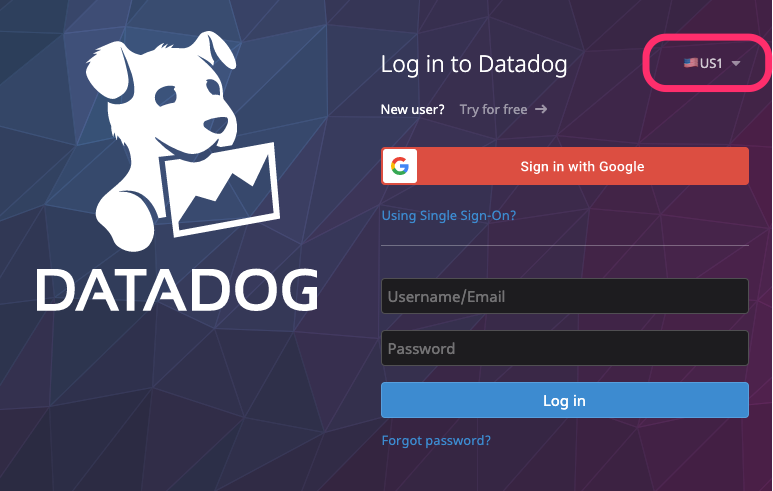
Locate your Datadog site
Navigate to the Datadog login screen and make a note of your Datadog site:
Create an API key
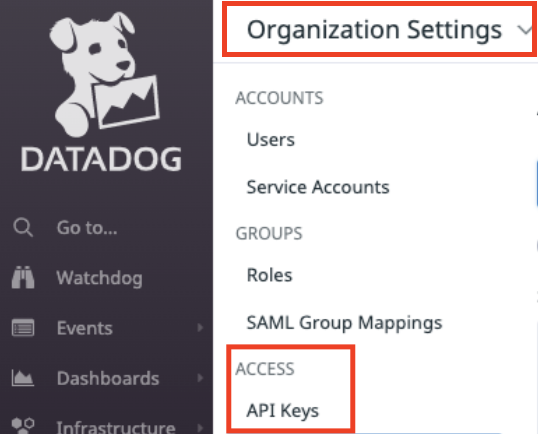
Log into Datadog account and click User Account > Organizational Settings.
Click API Keys and then click + New Key.
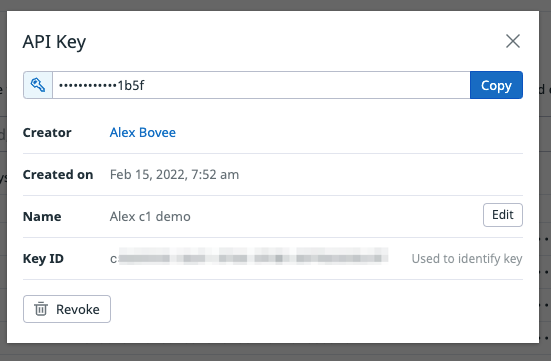
Enter a name for your new key, such as “ConductorOne”, and click Create Key.
Copy and save the newly created API key.
Create an application key
Navigate back to Organization Settings.
Click Application Keys and then click + New Key.
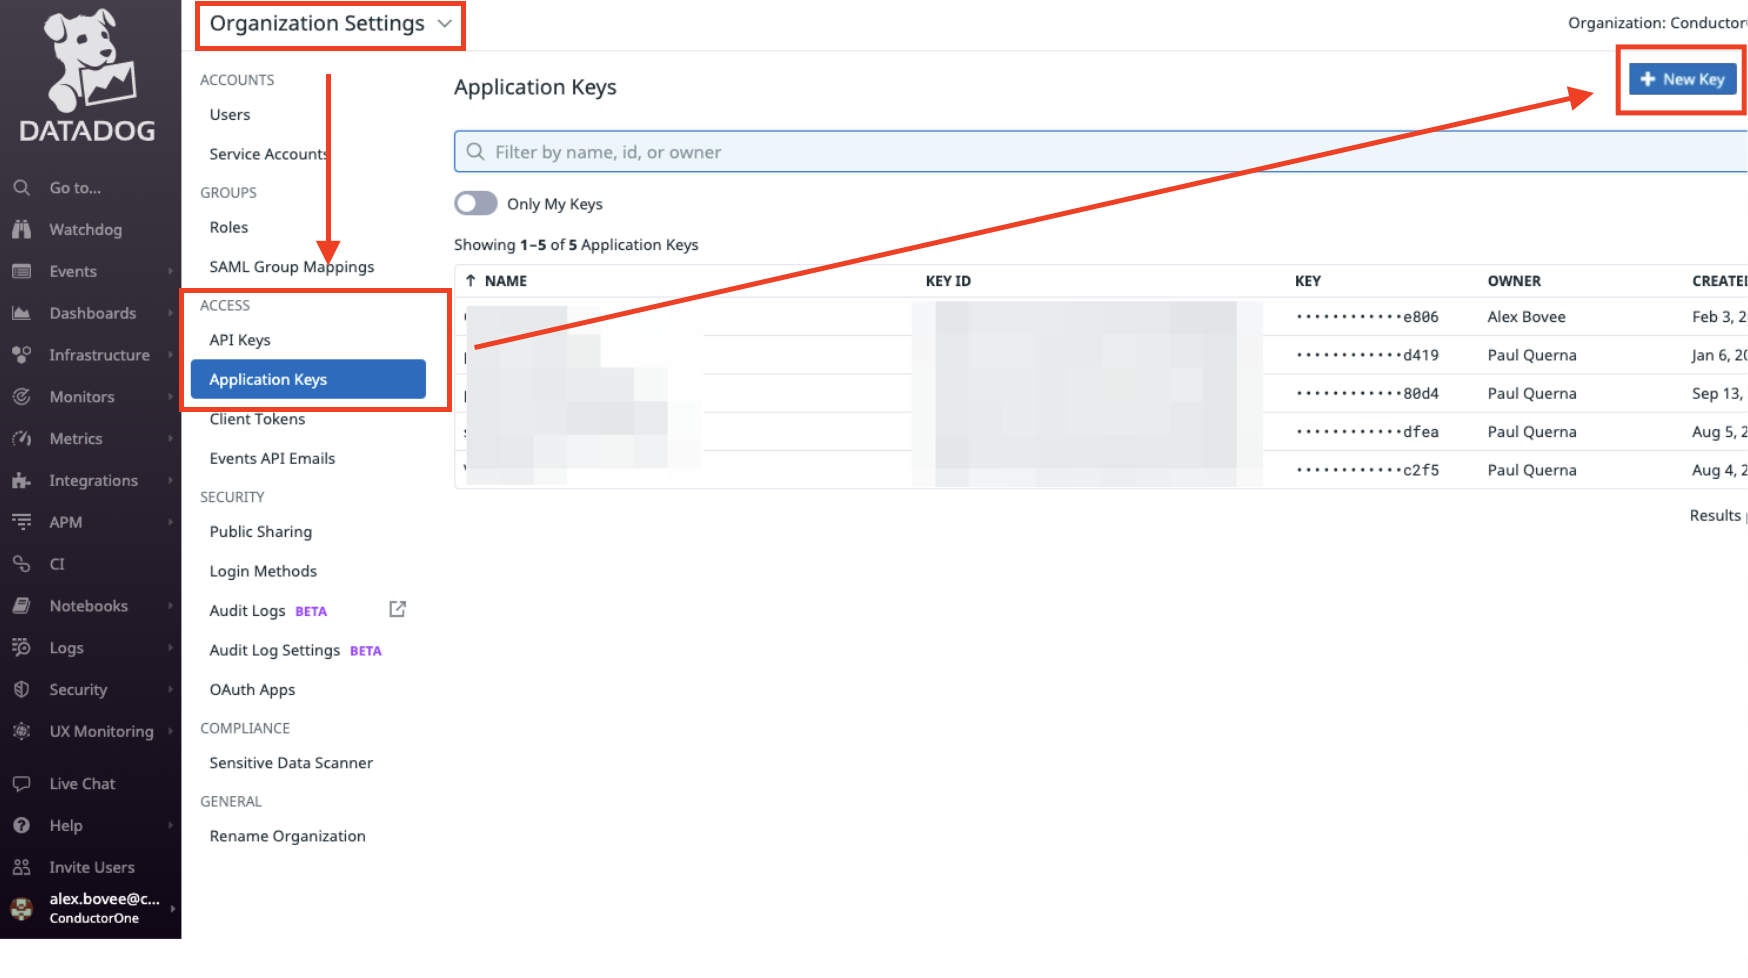
Enter a name for your new key, such as “ConductorOne”, and click Create Key.
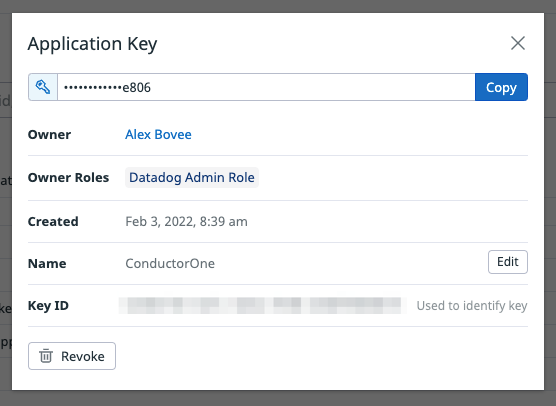
Copy and save the newly created application key.
That’s it! Next, move on to the connector configuration instructions.
Configure the Datadog connector
To complete this task, you’ll need:
- The Connector Administrator or Super Administrator role in ConductorOne
- Access to the set of Datadog credentials generated by following the instructions above
Follow these instructions to use a built-in, no-code connector hosted by ConductorOne.
In ConductorOne, navigate to Admin > Connectors and click Add connector.
Search for Datadog v2 and click Add.
Choose how to set up the new Datadog connector:
Add the connector to a currently unmanaged app (select from the list of apps that were discovered in your identity, SSO, or federation provider that aren’t yet managed with ConductorOne)
Add the connector to a managed app (select from the list of existing managed apps)
Create a new managed app
Set the owner for this connector. You can manage the connector yourself, or choose someone else from the list of ConductorOne users. Setting multiple owners is allowed.
If you choose someone else, ConductorOne will notify the new connector owner by email that their help is needed to complete the setup process.
Click Next.
Find the Settings area of the page and click Edit.
Select your Datadog site from the list.
Paste the API key into the API key field.
Paste the application key into the Application key field.
Optional. Enable Sync secrets to display them on the Inventory page.
Optional. Enable Sync schedules.
Click Save.
The connector’s label changes to Syncing, followed by Connected. You can view the logs to ensure that information is syncing.
That’s it! Your Datadog connector is now pulling access data into ConductorOne.
Follow these instructions to use the Datadog connector, hosted and run in your own environment.
When running in service mode on Kubernetes, a self-hosted connector maintains an ongoing connection with ConductorOne, automatically syncing and uploading data at regular intervals. This data is immediately available in the ConductorOne UI for access reviews and access requests.
Step 1: Set up a new Datadog connector
In ConductorOne, navigate to Connectors > Add connector.
Search for Baton and click Add.
Choose how to set up the new Datadog connector:
Add the connector to a currently unmanaged app (select from the list of apps that were discovered in your identity, SSO, or federation provider that aren’t yet managed with ConductorOne)
Add the connector to a managed app (select from the list of existing managed apps)
Create a new managed app
Set the owner for this connector. You can manage the connector yourself, or choose someone else from the list of ConductorOne users. Setting multiple owners is allowed.
If you choose someone else, ConductorOne will notify the new connector owner by email that their help is needed to complete the setup process.
Click Next.
In the Settings area of the page, click Edit.
Click Rotate to generate a new Client ID and Secret.
Carefully copy and save these credentials. We’ll use them in Step 2.
Step 2: Create Kubernetes configuration files
Create two Kubernetes manifest files for your Datadog connector deployment:
Secrets configuration
# baton-datadog-secrets.yaml
apiVersion: v1
kind: Secret
metadata:
  name: baton-datadog-secrets
type: Opaque
stringData:
  # ConductorOne credentials
  BATON_CLIENT_ID: <ConductorOne client ID>
  BATON_CLIENT_SECRET: <ConductorOne client secret>

  # Datadog credentials
  BATON_API_KEY: <Datadog API key>
  BATON_APP_KEY: <Datadog app key>
  BATON_SITE: <Your Datadog site ID>

  # Optional: include if you want ConductorOne to provision access using this connector
  BATON_PROVISIONING: true

  # Optional: include if you want to sync schedule data from Datadog
  BATON_SYNC_SCHEDULES: true
See the connector’s README or run --help to see all available configuration flags and environment variables.
Deployment configuration
# baton-datadog.yaml
apiVersion: apps/v1
kind: Deployment
metadata:
  name: baton-datadog
  labels:
    app: baton-datadog
spec:
  selector:
    matchLabels:
      app: baton-datadog
  template:
    metadata:
      labels:
        app: baton-datadog
        baton: true
        baton-app: datadog
    spec:
      containers:
      - name: baton-datadog
        image: ghcr.io/conductorone/baton-datadog:latest
        imagePullPolicy: IfNotPresent
        env:
        - name: BATON_HOST_ID
          value: baton-datadog
        envFrom:
        - secretRef:
            name: baton-datadog-secrets
Step 3: Deploy the connector
Create a namespace in which to run ConductorOne connectors (if desired), then apply the secret config and deployment config files.
Check that the connector data uploaded correctly. In ConductorOne, click Applications. On the Managed apps tab, locate and click the name of the application you added the Datadog connector to. Datadog data should be found on the Entitlements and Accounts tabs.
That’s it! Your Datadog connector is now pulling access data into ConductorOne.