How are vaults used in ConductorOne?
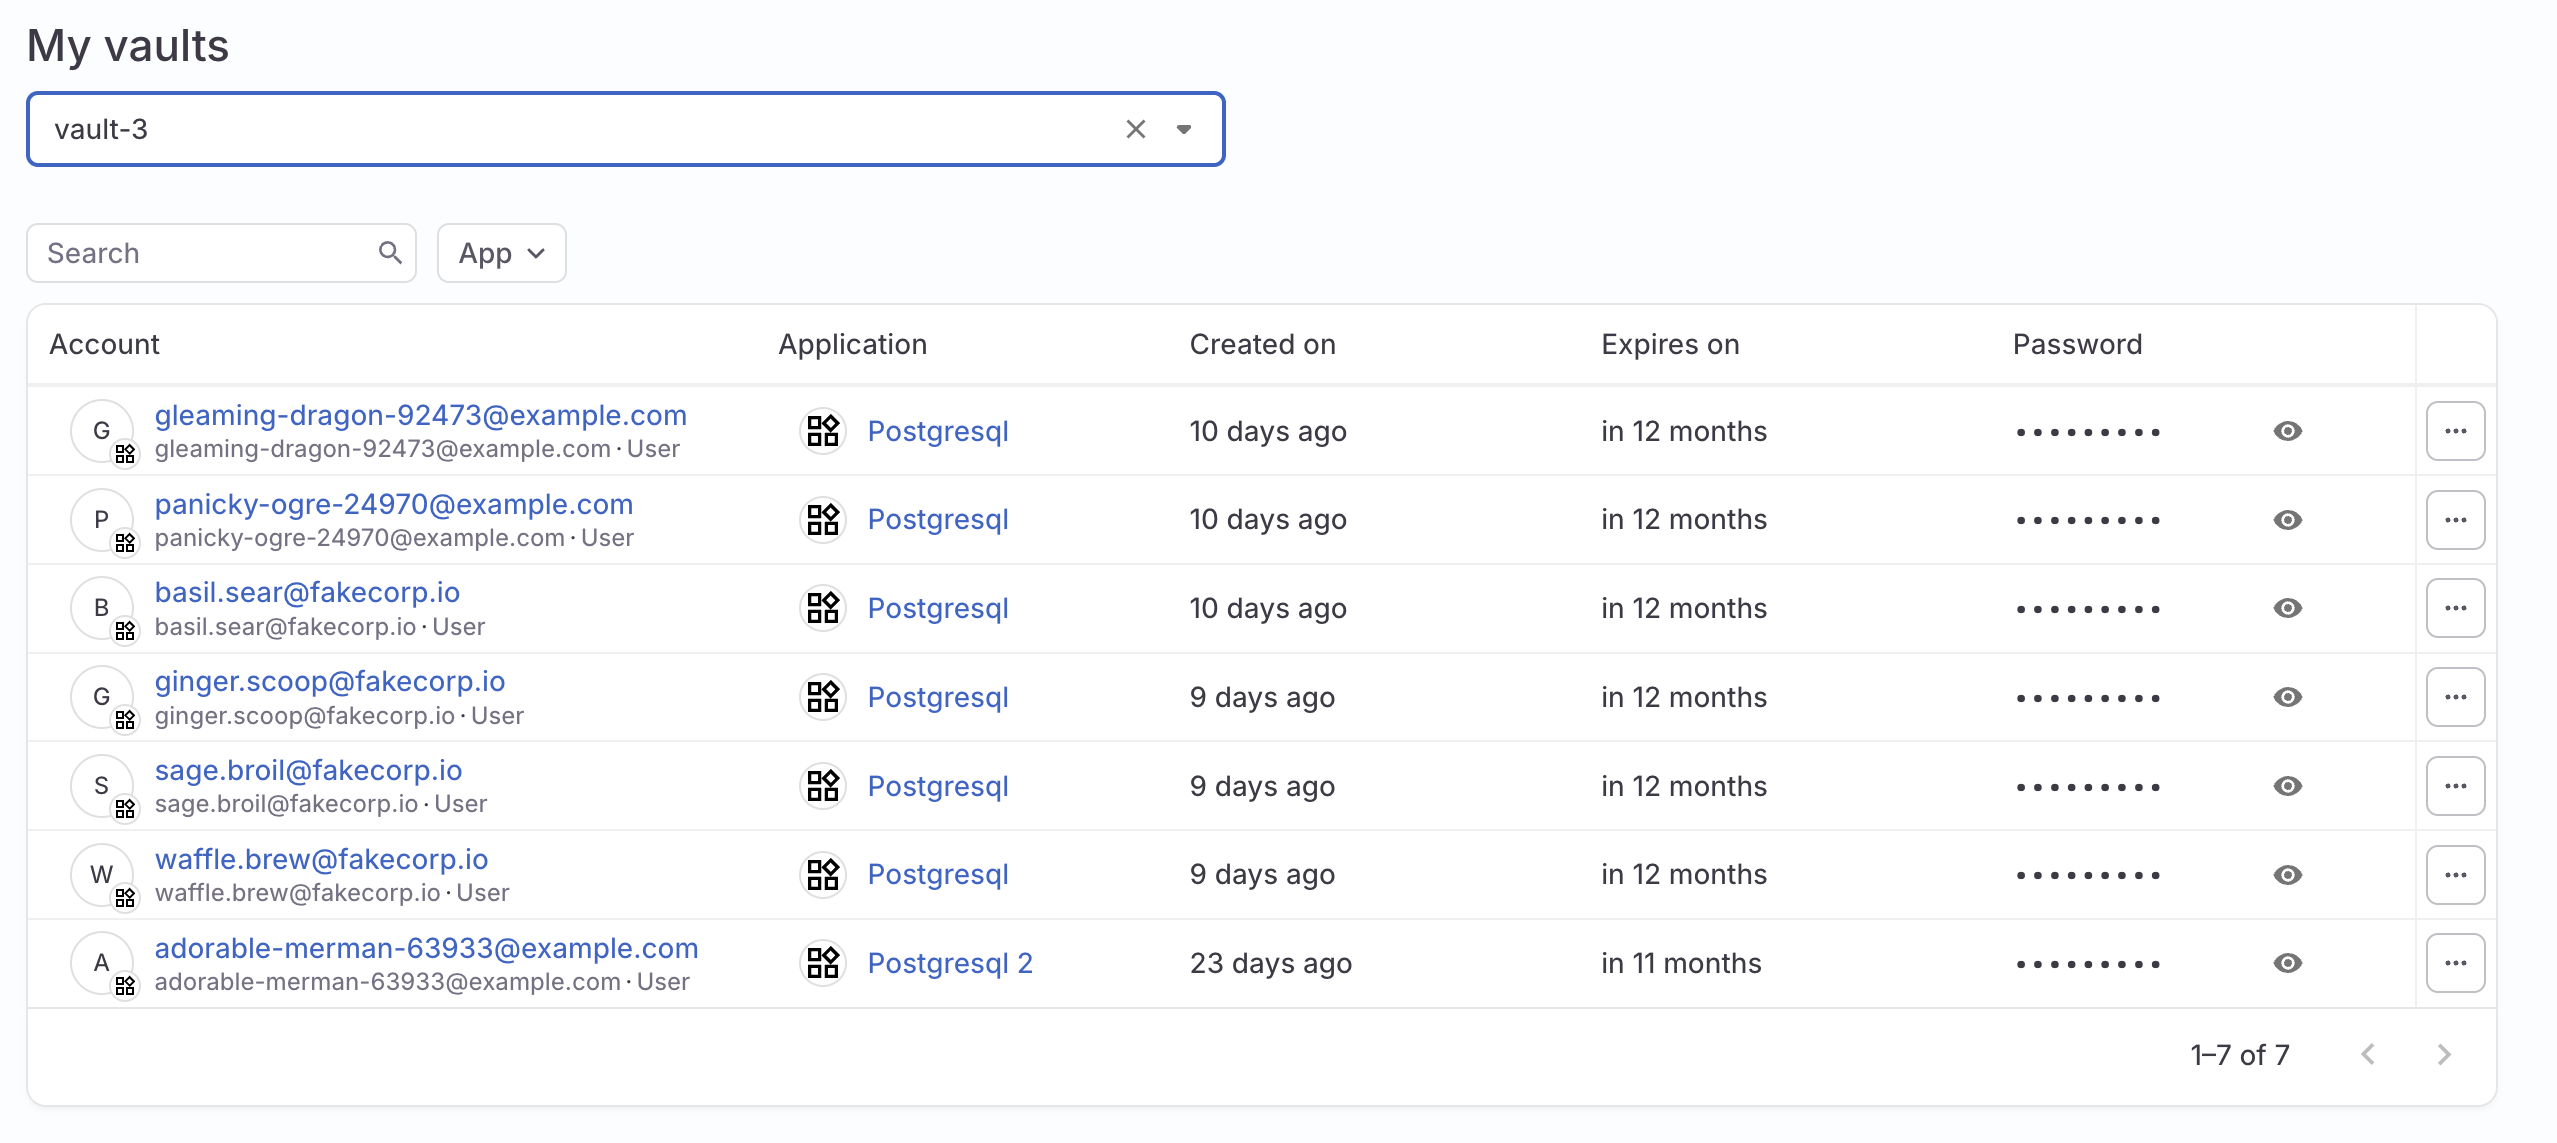
When you use ConductorOne to provision new application accounts through connectors that support automatic account provisioning, these new accounts are often created with a starter password. Vaults provide a secure location to collect all these initial passwords. This allows the vault owner to easily distribute them to the owners of the new accounts, whether through email, Slack, or your preferred communication method.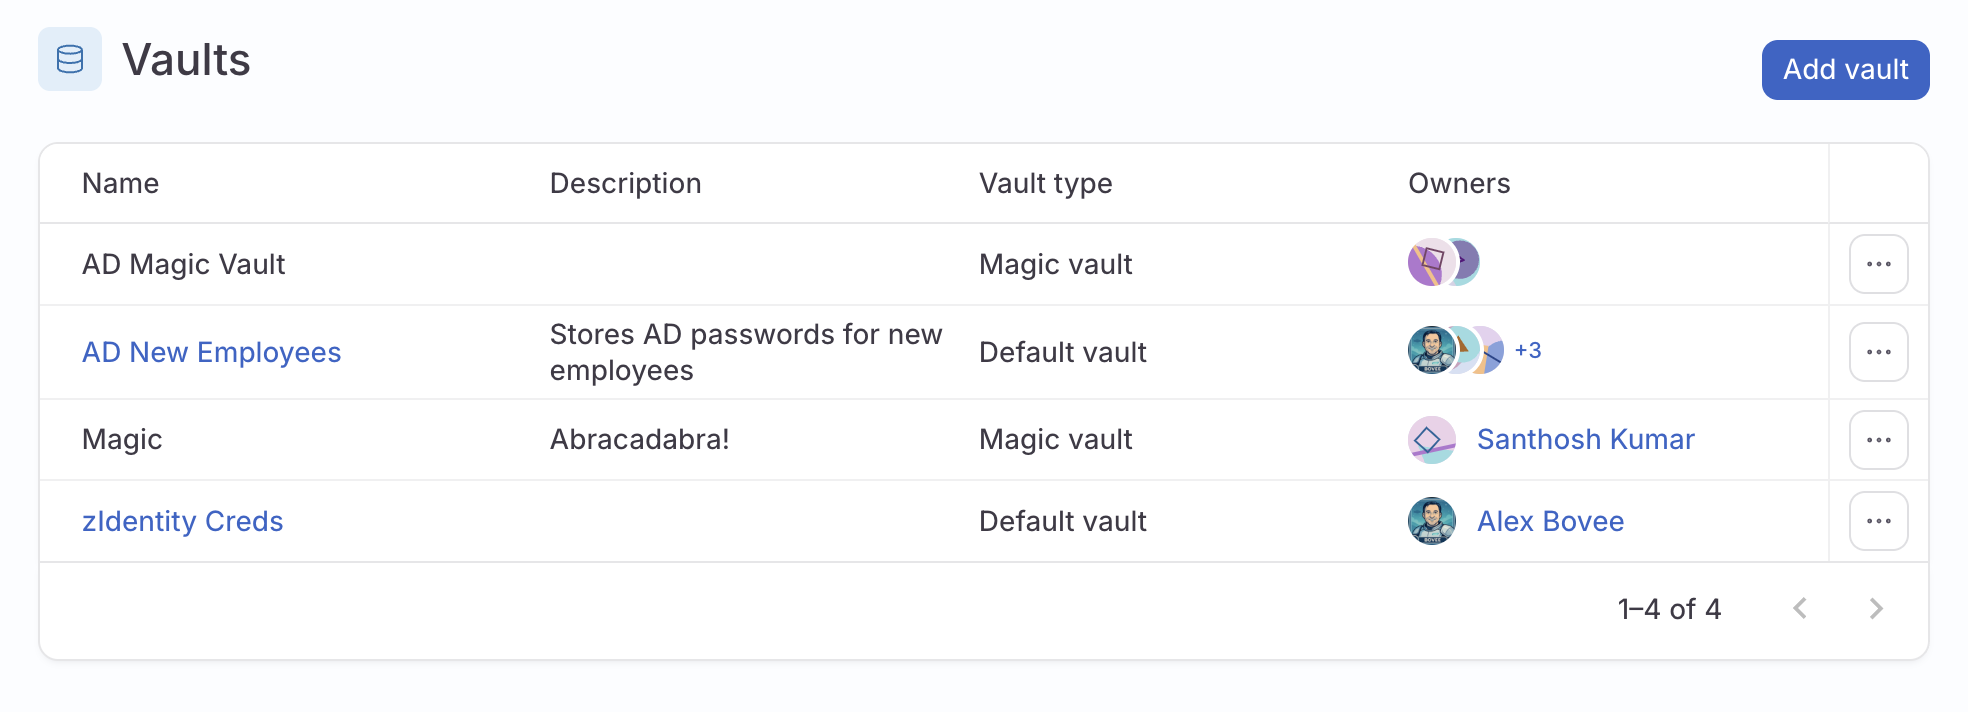
Set up a new vault
Set a vault owner or owners. The vault owner is the only user who can view and decrypt all the credentials within the vault. Super admins can create vaults, but cannot decrypt passwords for others without the vault owner permission.
Set the default password expiration for the vault
If needed, you can set the length of time newly created passwords will last before they expire.Use the dropdown to select how long passwords created in this vault will last. Preset options range from one hour to one year. Choose Custom to select a password duration if your preferred length isn’t on the list.
Configure a connector to save new account passwords to a vault
On the app’s Controls tab, locate the Accounts management section of the page. Click Edit next to Provisioning. The provisioning configuration drawer opens.
Select Connector from the dropdown, then select the connector for this app. The Mappings panel is shown. (See the automatic account provisioning docs for more on configuring the connector, if you haven’t already done so.)
In the Password storage area of the page, select Save to vault and select the vault you want to use.